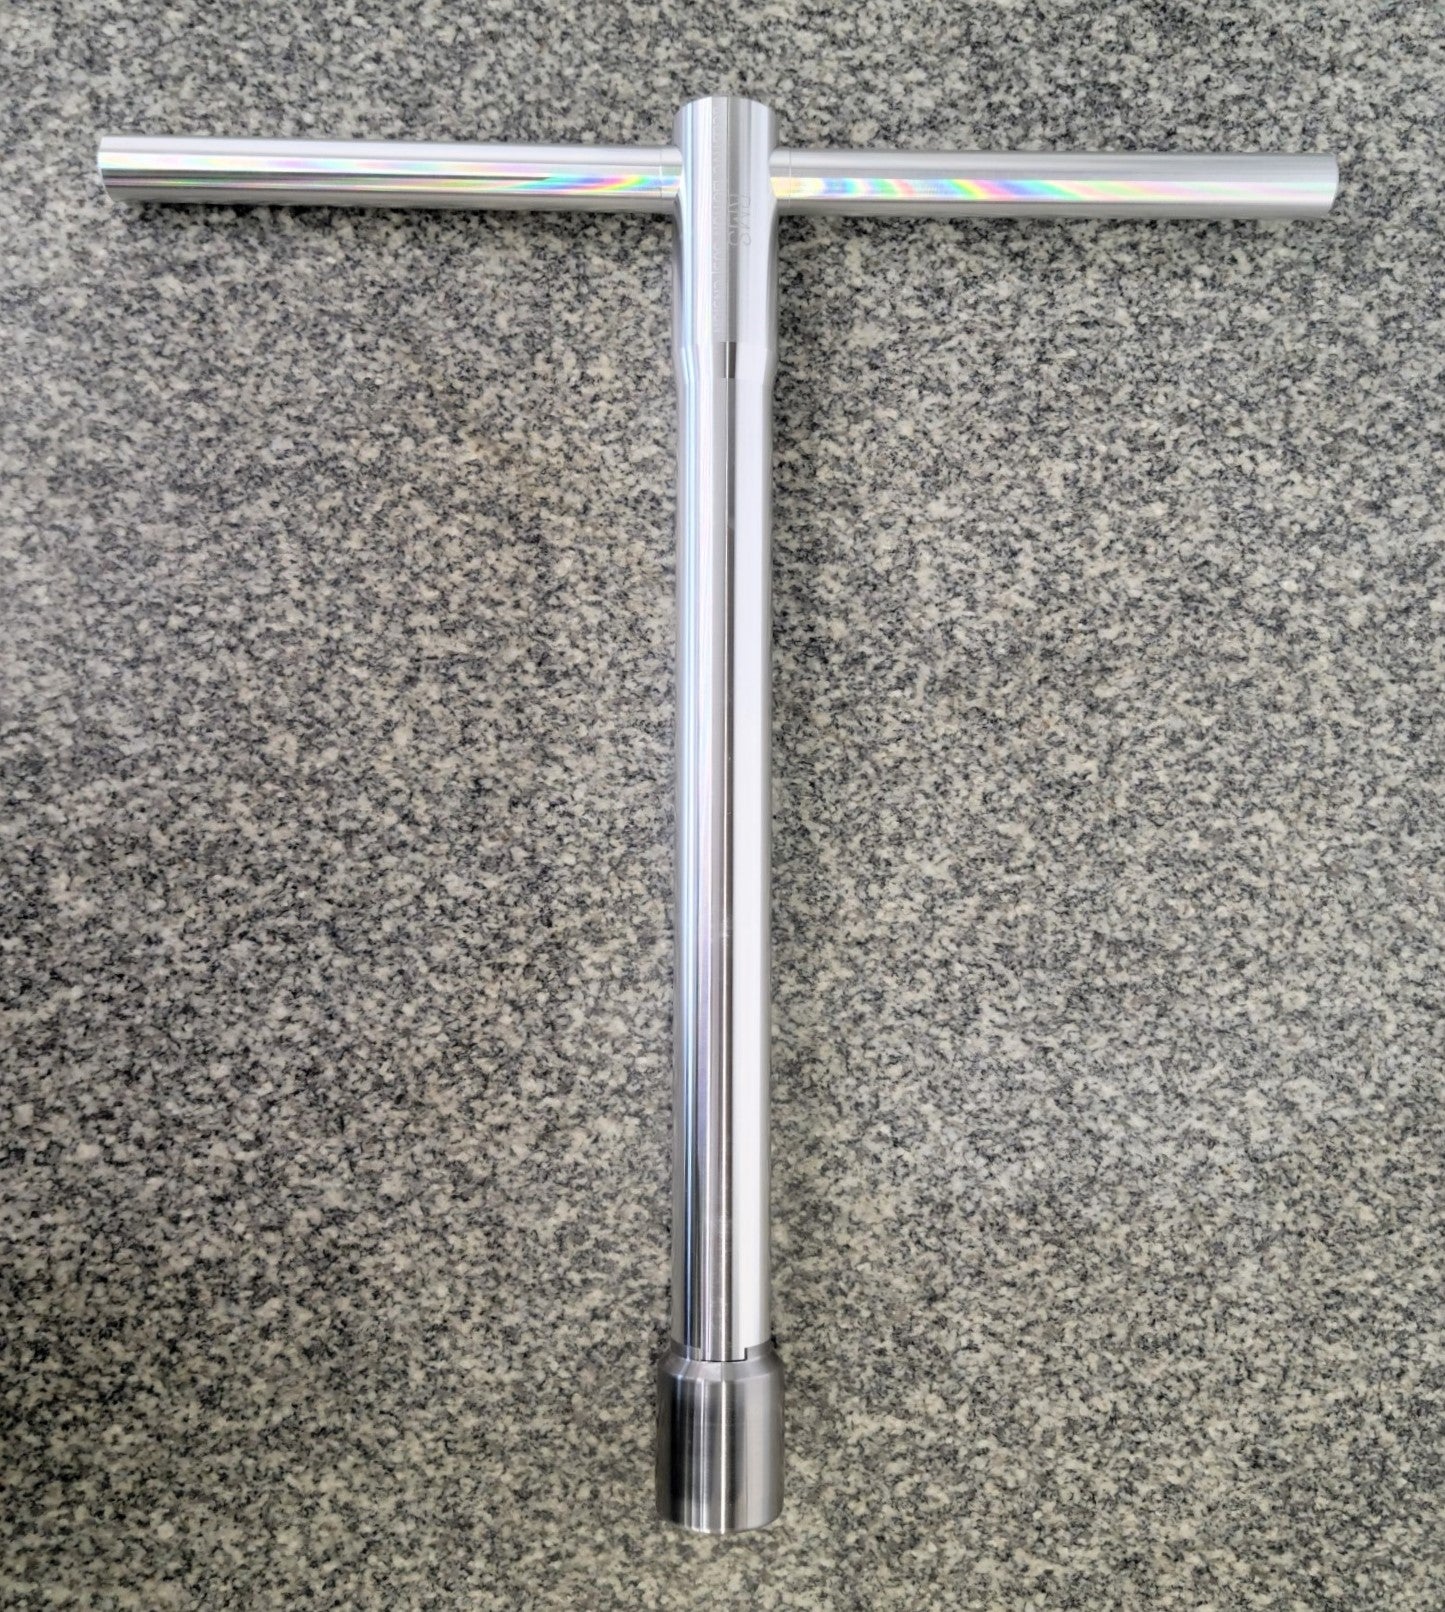


Fork Bushing Burnishing / Sizing Tool
Fork Bushing Burnishing / Sizing Tool
100% tariff free for USA, no surprise fees on delivery. Local taxes may apply at checkout for EU.
Couldn't load pickup availability
Remove harshness from your fork permanently with the single most impactful upgrade you can do to your suspension.
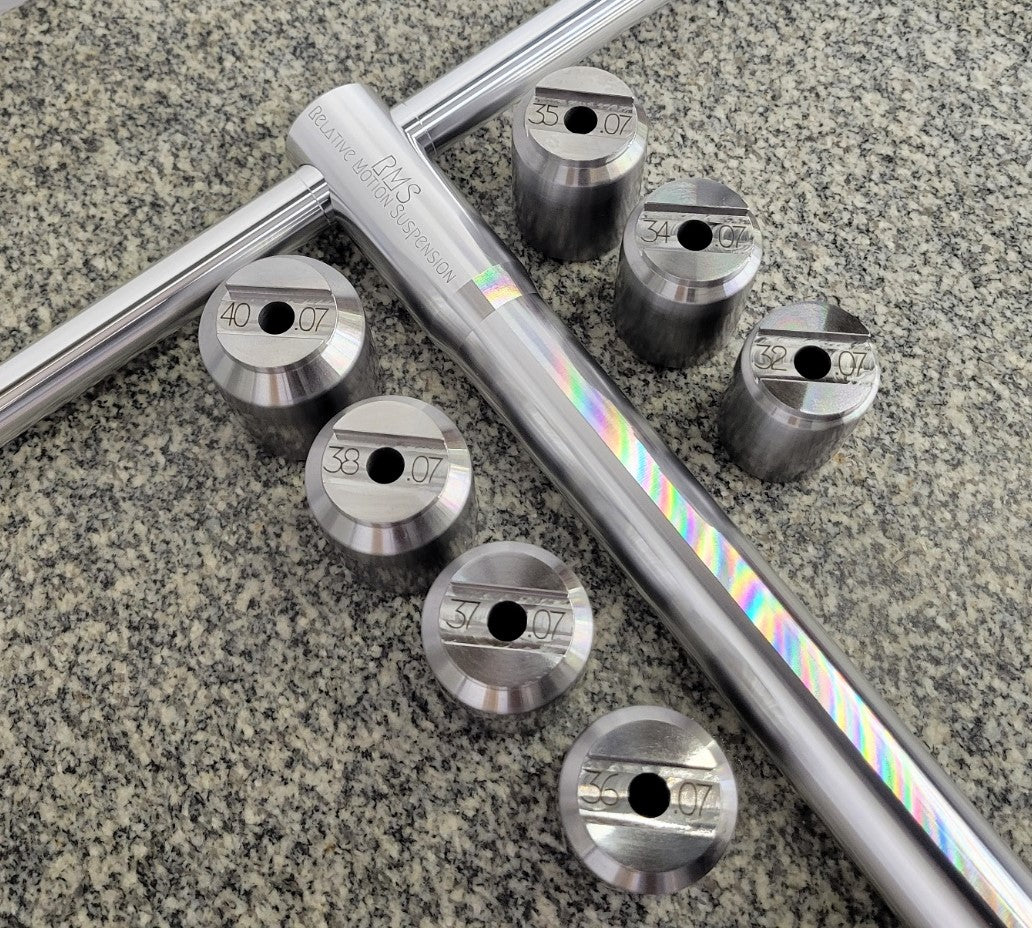
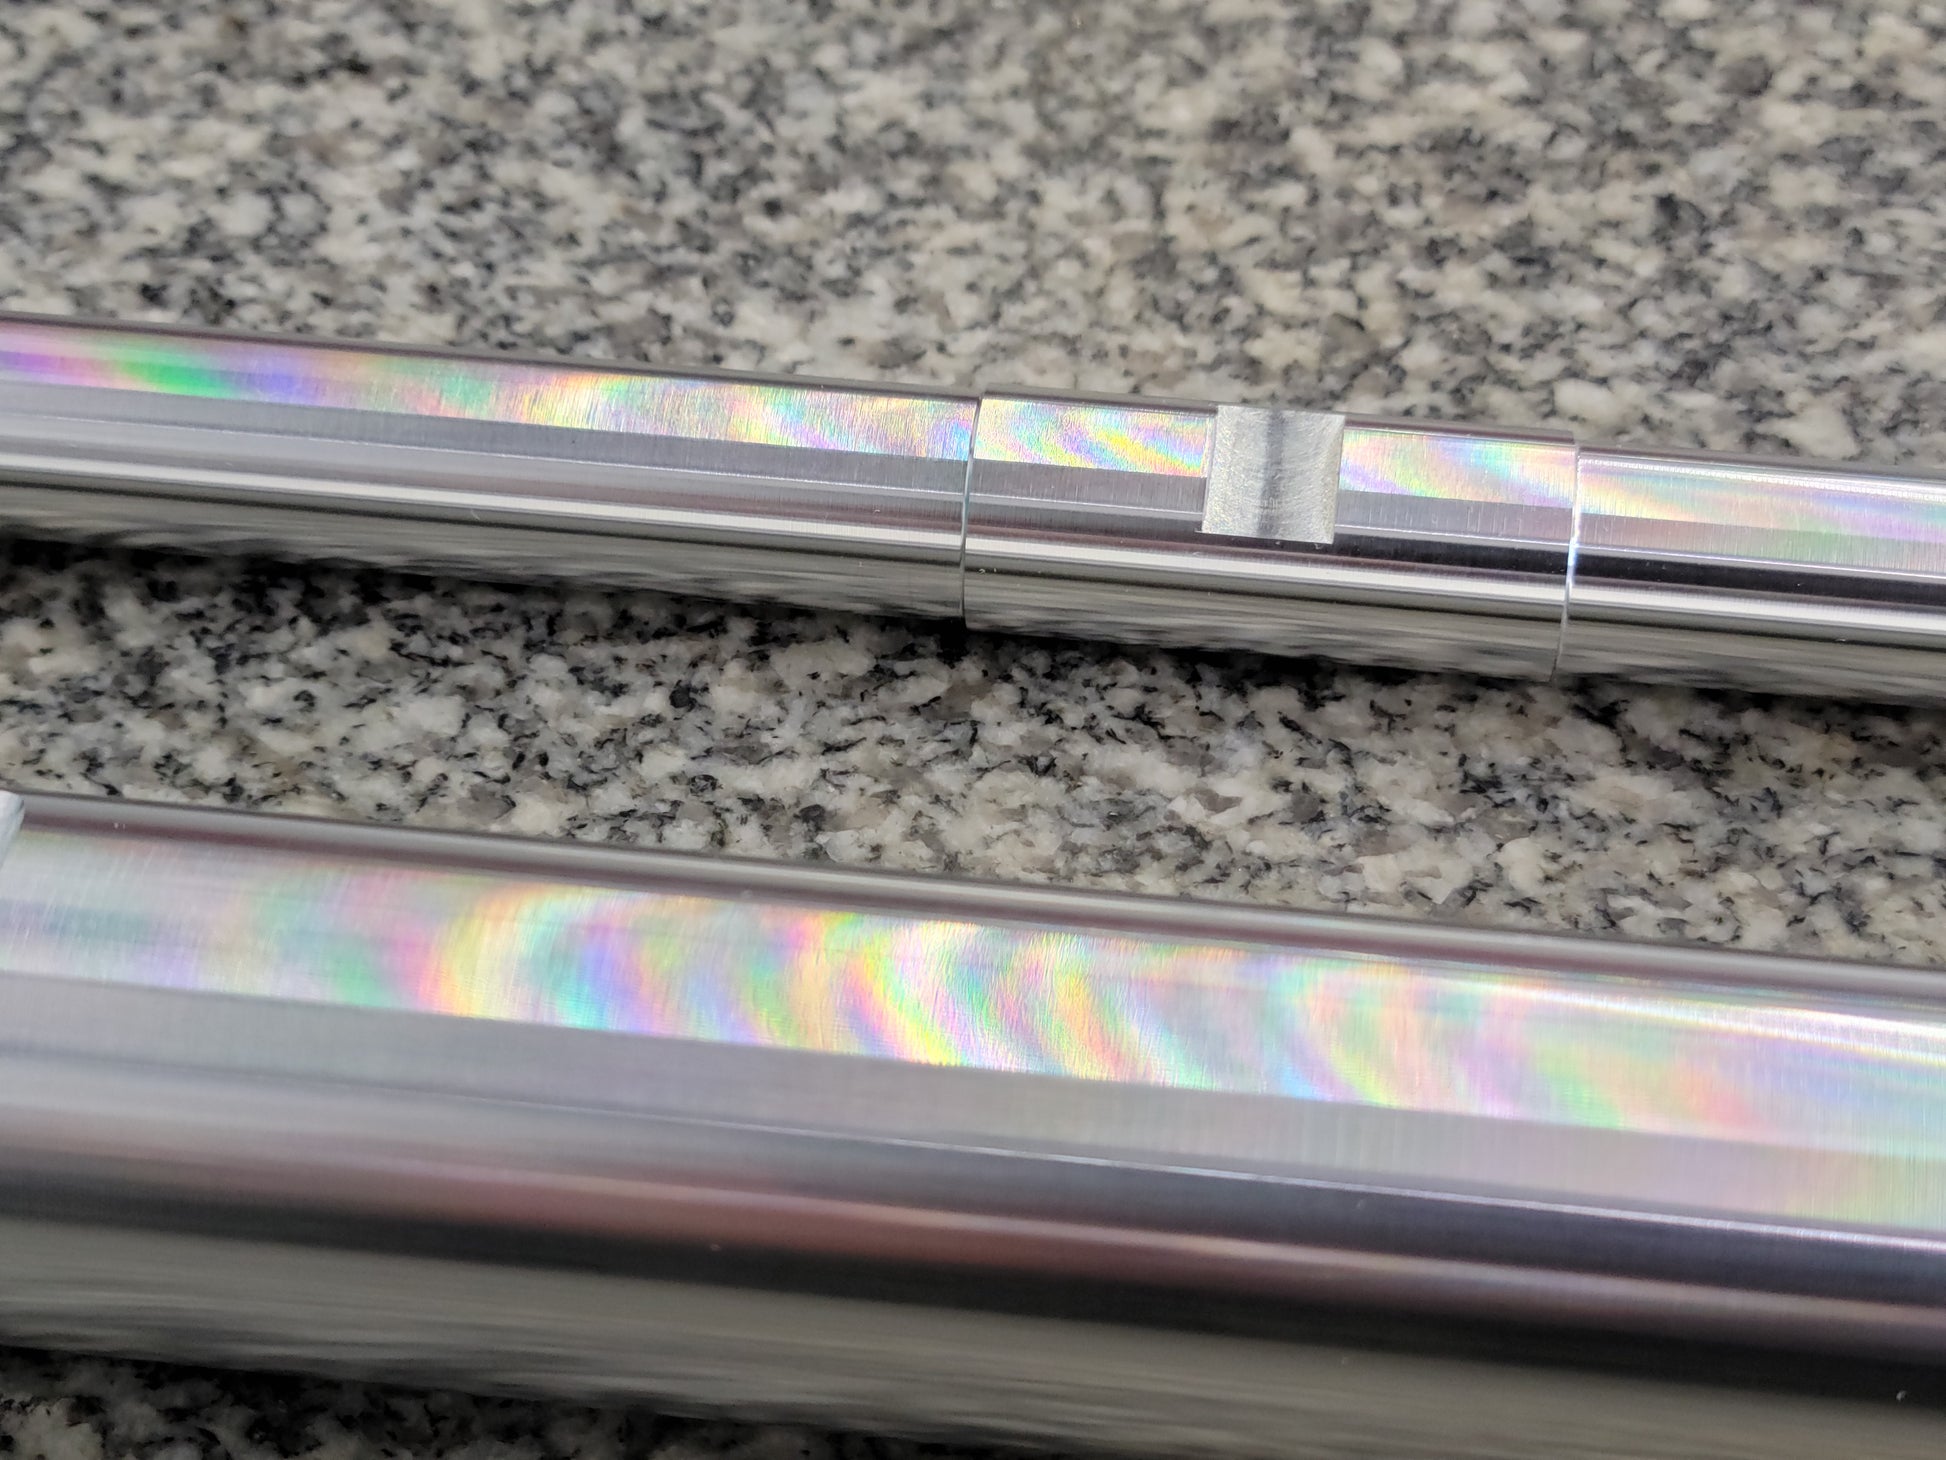
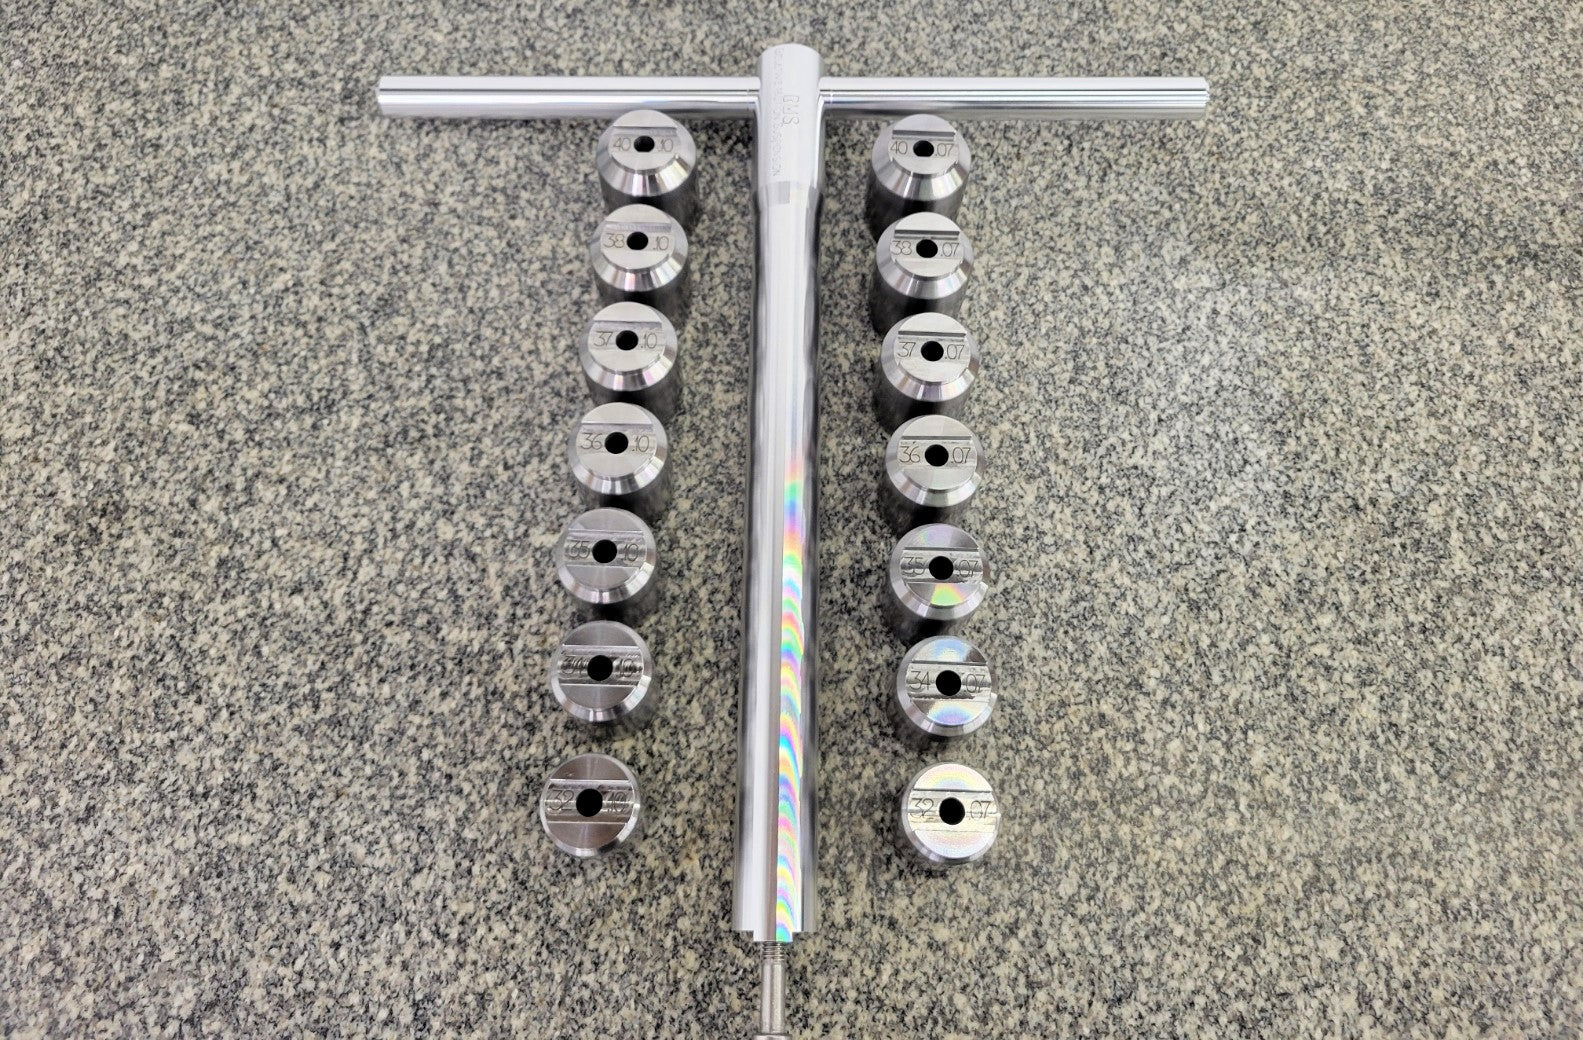
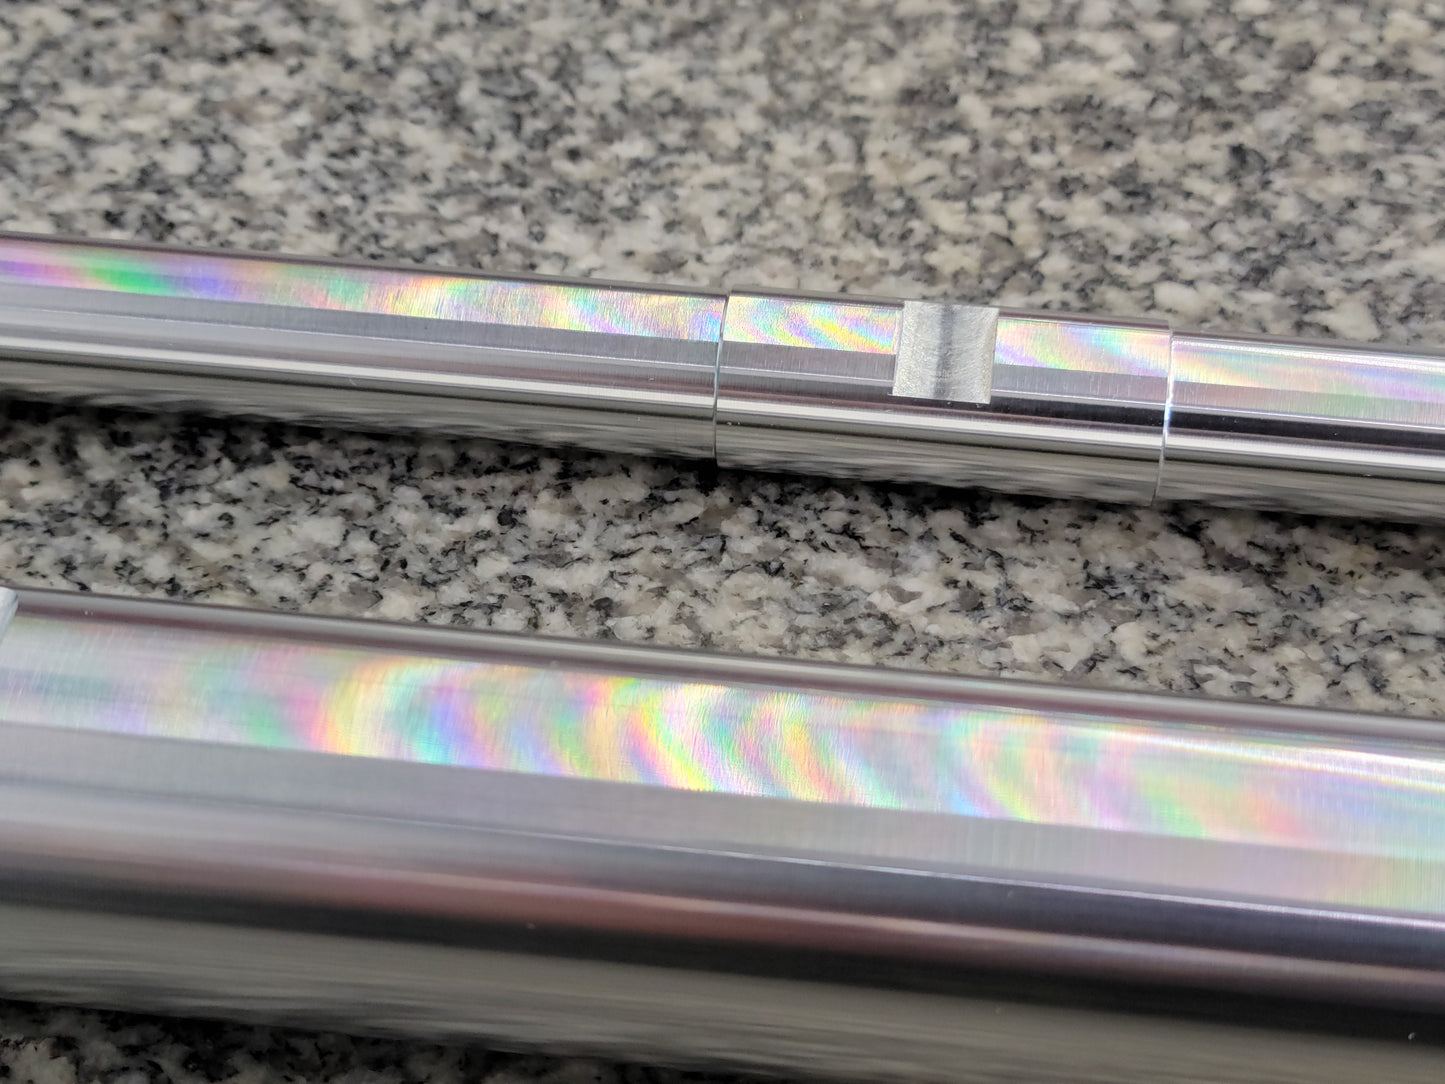
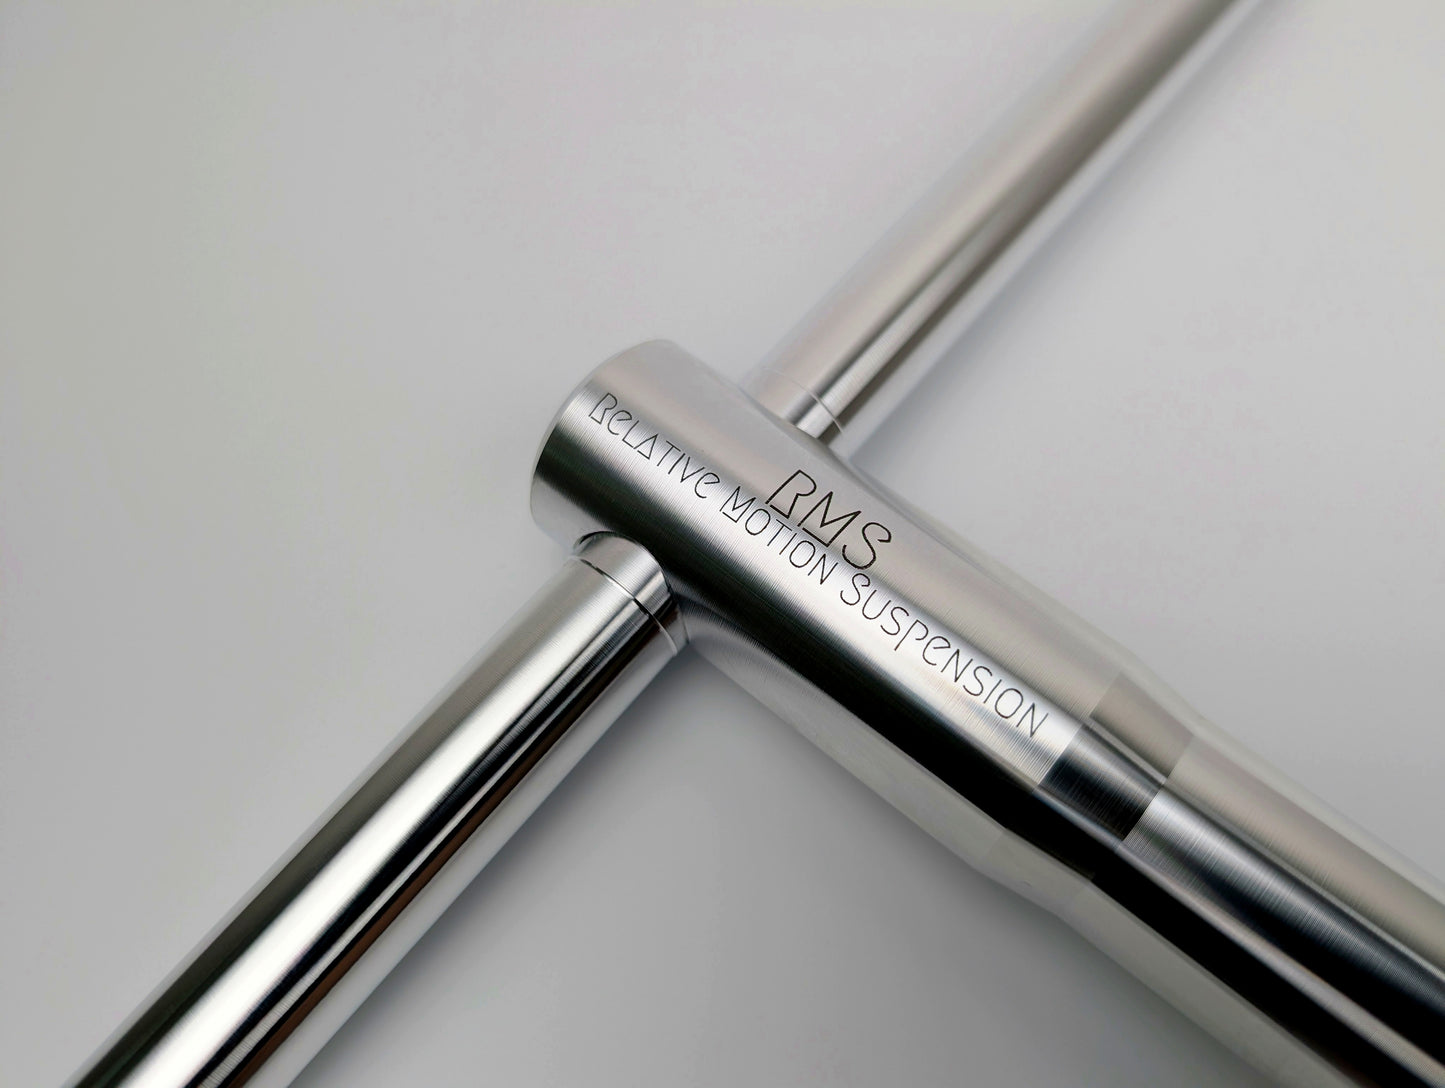
• Stunning bright turned T-handle with titanium hardware and foam storage insert
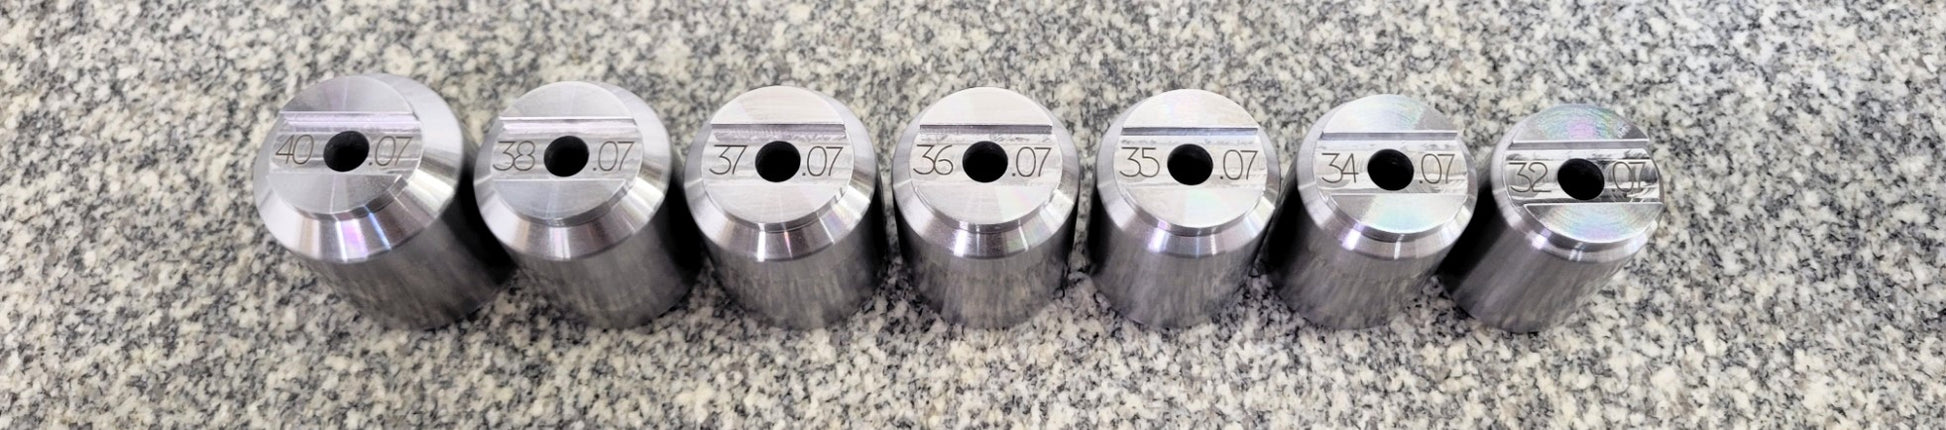
• Self aligning burnish heads for easy no hassle burnishing.
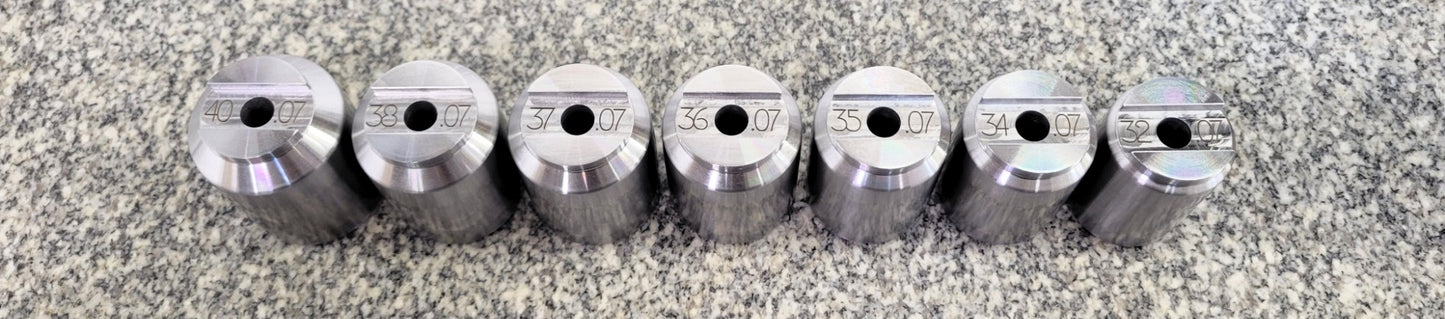
• Burnishing heads made from high strength steel
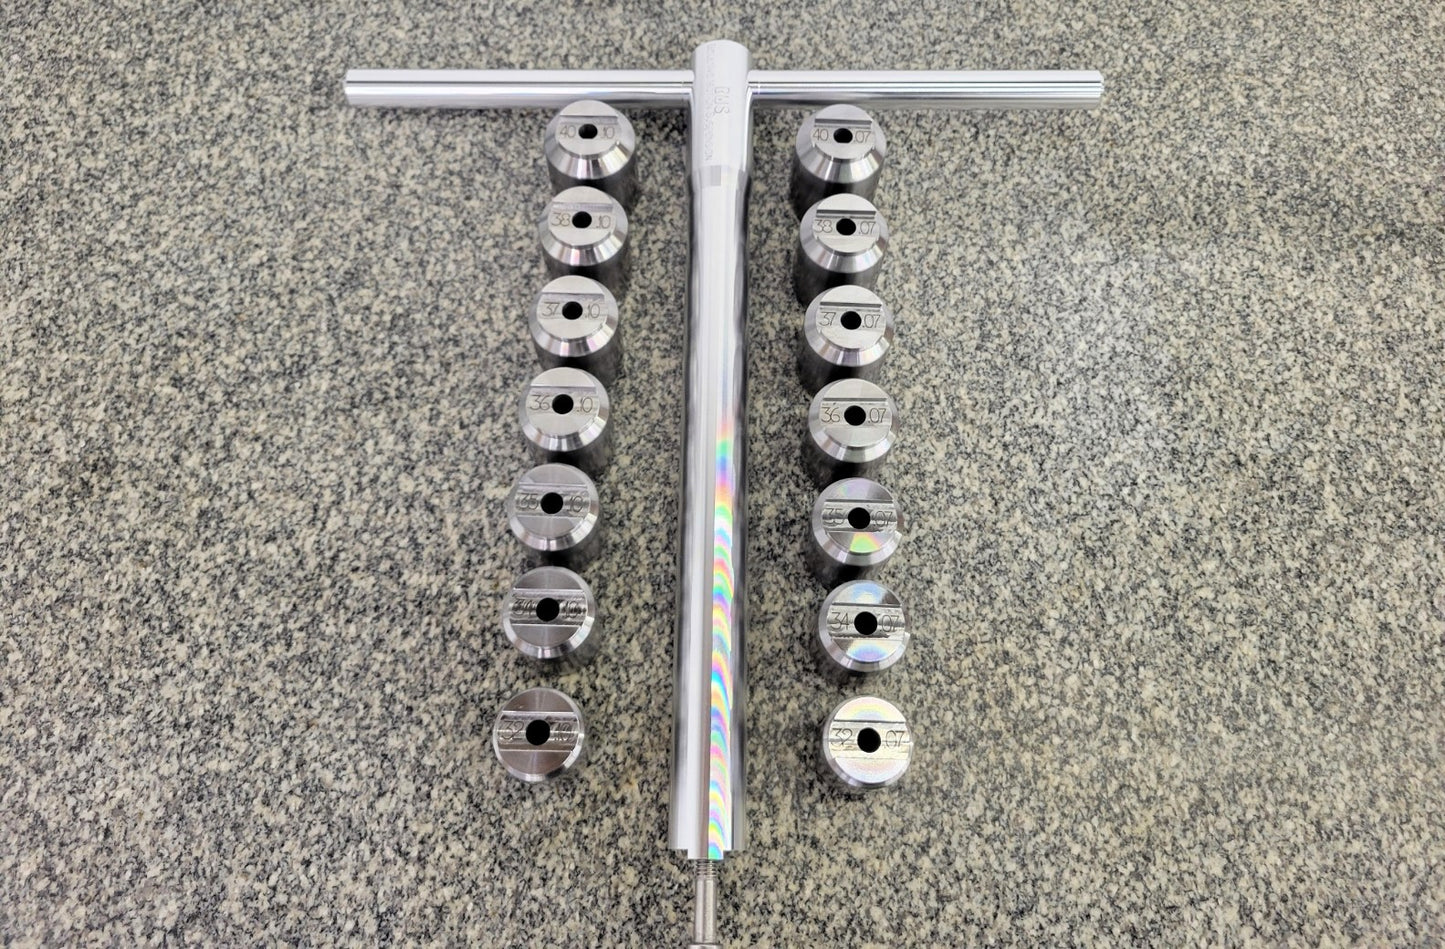
• Compatible with all RMS handles and heads ever made
Stiction, harshness, arm pump, a fork that doesn't absorb small bumps and chatter, but is ok on the big hits. You've adjusted pressure, compression, rebound, played with different volume spacers or springs, and nothing fixed it. That's because every one of those adjustments is downstream of the real problem.
Tight or out-of-round bushings create a significant increase in both static, and dynamic friction that your fork has to overcome to move. No spring setting or damper tune fixes friction, if you've ever run your rebound adjuster wide open and still felt a harsh fork on repetitive hits, that's bushing friction, not a damper tune problem.
The RMS burnishing tool permanently corrects bushing geometry removing stiction and friction in about ten minutes. You'll feel the difference before you get to the end of the driveway.
Used in all shops from the garage to the professionals. The bushing sizing standard the industry has adopted.
"This is the last piece of the puzzle! I could have skipped the upgrades if I only knew this tool earlier." — Verified buyer
which +size should I use?
which +size should I use?
It depends on how sticky and harsh the fork feels. If the fork generally feels okay but not great, and doesn't degrade quickly after a service, the +.07mm is likely sufficient. If the fork feels noticeably sticky or harsh, or degrades within the first ride after a service, start with +.10mm. If the fork still has stiction after burnishing with +.10mm, move to +.13mm.


Your Setup Isn't the Problem. Your Bushings Are.
Most riders chasing suspension performance focus on the obvious: air pressure, tokens, rebound, compression. These adjustments can't fix a problem that's upstream of all of them.
Fork bushings are critical to the proper function of the fork. They are what allow the lower legs to slide on the stanchions as smoothly as possible, but if they aren't the right geometry they make even the best fork beat you up. When the bushings are out-of-round or undersized, the lower legs bind instead of sliding freely resulting in stiction, a resistance threshold the fork has to overcome before it moves at all, and excess friction. You feel it as harshness on small bumps, arm pump, and a fork that only handles big hits okay.
Here's what most riders never connect: bushing friction affects rebound feel more than compression. If you've ever run your rebound adjuster wide open and still felt like your fork was recovering too slowly, that's friction from the bushings, not a damper tuning problem. It usually compounds on itself because the fork packs down over consecutive hits so you soften compression to try and compensate, but it ends up making the problem worse by allowing the fork to pack up even more. Firming the compression to keep the fork higher in the travel doesn't help either because it just makes everything harsher. Burnishing the bushings removes that friction and results in faster rebound without touching the adjuster making the fork work like the manufacture intended it to.
You change pressure or springs, add or subtract volume spacers, try all of the available damper settings, even custom damper tunes but it won't yield any results because the problem isn't your tune. It's the bushing fit.
The Tool Does Something a Drill Can't.
Burnishing is complete when resistance equalizes as the tool moves through all four bushings with the same effort. That moment tells you the geometry is correct and that feedback only exists when you're turning by hand.
Drill-driven tools remove the one signal that tells you the job is done. There's no way to feel resistance differential through a drill, and no reliable indicator for when to stop. You're guessing at completion. You're guessing at whether it worked. There's no way to know.
The RMS tool is designed to be turned by hand because the hand is the instrument. The resistance you feel through the T-handle is the data. That's how you know the process worked and when its complete.
Simple Process. Immediate Results.
-
Remove and clamp the lowers
Pull the lower legs off the fork and clamp them so they can't rotate. A bike stand or a bench mounted stand works great. Make sure to clamp at the bottom of the casting near the axle to avoid burnishing a bushing that is slighly deformed by the clamp.
-
Assemble and oil the tool
Slide the T-handle into the body, lock it with the set screw, bolt on the correct burnishing head, and apply lower leg oil. The tool only goes together one way.
-
Burnish the bushings
Push and pull the tool through the bushings while rotating. You'll feel resistance at first. Keep going until resistance feels equal across all four bushings. Some bushings may need more work than others. The tool tells you when it's done.
-
Reassemble and ride
Clean up, reassemble the fork, set your pressure, and ride. Most riders feel the difference before they finish the driveway.
Fork Compatibility Guide
Find your fork to confirm stanchion size and the correct head to order.
| Brand | Model | Stanchion | Head needed | Shop |
|---|
BOS & EXT note: The BOS Idylle 2021+, Idylle SC 2021+, Obsys, and EXT Vaia have stanchion dimensions or bushing designs that cannot be burnished with this tool. No head is currently available for these forks.
Not sure? Measure your stanchion directly with calipers if your fork isn't listed, or contact us at info@rmsuspension.com.
Not All Burnishing Tools Work the Same Way.
There are drill-driven tools on the market. They burnish. But the mechanism that makes burnishing work tactile resistance feedback is exactly what a drill eliminates. Here's how the tools compare on the factors that actually matter to the outcome.
| RMS (this tool) | Drill-driven A | Drill-driven B | |
|---|---|---|---|
| Completion signal | Tactile feedback loop | None | None |
| Knowable when done | Yes | No | No |
| Max oversize | +0.13mm | +0.15mm | +0.13mm |
Questions Riders Ask Before Buying.
Will this introduce play into my fork?
No. All fork lowers have designed-in clearance between bushings and stanchions from the factory, that's a requirement for sliding and oil film formation, not a defect. The RMS burnishing head is sized to the correct diameter. It removes excess friction caused by bushings that are too tight or out-of-round. It does not remove any material from the bushing. If your fork has noticeable knocking after burnishing, the bushings were already worn before you started, burnishing corrects geometry in serviceable bushings, it doesn't replace worn ones.
Why does this cost more than other tools?
Because it's made differently and works differently. Precision machined in Canada by the person who designed it. The manual process isn't a limitation, it's the point. The resistance you feel through the T-handle is the only reliable signal that burnishing is complete. That feedback doesn't exist in a drill-driven system. You can't feel resistance differential through a drill, and there's no indicator for when to stop. Forty-four riders have paid the difference. Every one of them said it was worth it.
My fork is brand new, do I still need this?
Possibly. Factory bushing fit varies. Some forks leave production perfectly sized; others don't. If your new fork feels harsh on small hits or requires more pressure than expected to get it moving, tight or out-of-round bushings are a likely cause. Burnishing a new fork before its first ride costs ten minutes and often reveals a fit issue that would have taken months to diagnose otherwise.
Is my fork compatible?
The RMS tool is compatible with virtually all MTB forks. The full compatibility chart is above, find your fork, confirm your stanchion size, and order the right head. The only known exceptions are the BOS Obsys, EXT Vaia, BOS Idylle 39 (SC and DC), and the Kyll 39, these forks use a proprietary bushing format the RMS head cannot service. If your fork isn't in the chart, contact us before ordering.
What if I need more head sizes later?
Every burnishing head RMS has ever made fits the same handle. If you start with the Starter Kit and add forks to your quiver or your shop expands its range, you add heads, not a new tool. The handle is the long-term investment.
I'm in the USA or Europe, what will this actually cost me?
What you see at checkout is what you pay. All shipments to the USA and Europe are sent DDP, duties and import fees are included in the price. Only local sales tax or VAT may apply at checkout depending on your jurisdiction. No brokerage surprises on delivery.
How do I know if my fork needs bushing sizing?
The clearest sign is a fork that feels harsh, sticky, or unresponsive especially at small bumps, and doesn't improve meaningfully after a full service with fresh oil and seals. If the fork feels acceptable right after a service but degrades within the first ride or two, that's a strong indicator the bushings need sizing.
Which +size should I use?
It depends on how sticky the fork feels. If the fork generally feels okay but not great, and doesn't degrade quickly after a service, the +.07mm is likely sufficient. If the fork feels noticeably sticky or harsh, or degrades within the first ride after a service, start with +.10mm. If the fork still has stiction after burnishing with +.10mm, move to +.13mm. The +.10mm gets the majority of forks feeling great on its own.
Will the bushing end up exactly at the +size diameter after burnishing?
No. The PTFE bushing material has spring-back after the tool passes through the bore and shrinks back down once the head clears. The larger the +size used, the more spring-back occurs, so the relationship between head size and final bushing diameter is not linear. All three +sizes (+.07, +.10, +.13mm) will result in a final bushing clearance in the ideal range which provides the right amount of clearance for proper oil film formation without excessive play.
Can I over-burnish or damage the bushings?
No. You cannot over-burnish with our manual tool. As you pass the tool back and forth, resistance will gradually decrease until it levels off and becomes constant. That plateau is your signal that the bushing is done. It's normal for upper and lower bushings to feel slightly different from each other, what matters is that they all feel as close to each other as possible upon completion of burnishing, something you can only tell with our manual tool.
Do I need special oil for burnishing or after burnishing?
Use whichever lower leg lubricant oil your fork manufacturer specifies and apply it to the burnish head before starting. No special oil is needed for the burnishing process itself. Use your manufacture specified lower leg lubrication oil after burnishing when reassembling the fork.
Orders Ship Within 2 Business Days.
-
Canada
Free shipping on orders over $140 CAD.
-
USA
Free shipping on orders over $100 USD. Ships DDP, no brokerage or import fees. All products are tariff-free.
-
Europe
Ships DDP. All duties and import fees included. Only local VAT may apply at checkout.
-
Everywhere else
Tracked international shipping available at checkout. Contact us if you have questions about delivery to your country.
The Last Suspension Upgrade You'll Make to This Fork.
Your fork was engineered to perform. Tight or out-of-round bushings are the most common reason it isn't. Ten minutes. Immediate results. A fork that finally performs the way it was designed to.
Free shipping over $100 USD / $140 CAD · Ships DDP to USA and Europe · Precision machined in BC, Canada